
Living in San Diego and throughout Southern California means enjoying sunshine almost every day of the year. While natural light makes homes feel open and inviting, it also exposes them to intense UV radiation and steady heat gain. From coastal properties in La Jolla to inland homes in Escondido, many homeowners notice rising indoor temperatures during the afternoon and fading furniture over time.
Installing residential window film is a practical way to manage these issues. It helps reduce glare on screens, improves daytime privacy, and protects flooring and upholstery from sun damage. It can also ease the workload on your air conditioning system, which is especially valuable during long summer stretches. For homeowners looking to improve comfort without a major renovation, window tinting is a smart, efficient upgrade.
Choosing the Right Window Film
Selecting the right film is one of the most important parts of the process. Not all window films are created for the same purpose, and your choice should reflect both your home’s design and Southern California’s climate.
Solar control film is one of the most popular options in the region. It is designed to reduce heat and glare while still allowing natural light to enter the room. UV-blocking film primarily protects interiors from fading. Decorative or frosted film is often used for bathrooms or entryways where added privacy is needed without heavy darkening.
When choosing a product, pay attention to its visible light transmission. Lower percentages mean darker film. Also consider whether your windows are single-pane or dual-pane, as insulated glass requires compatible materials to avoid long-term stress on the glass. If you live in a community governed by an HOA, reviewing appearance guidelines beforehand can prevent issues later.
A quality film designed for residential use will provide better clarity, durability, and overall performance.
Tools and Preparation
A smooth installation depends heavily on preparation. Taking the time to gather proper tools and clean your windows thoroughly will determine how professional the final result looks.
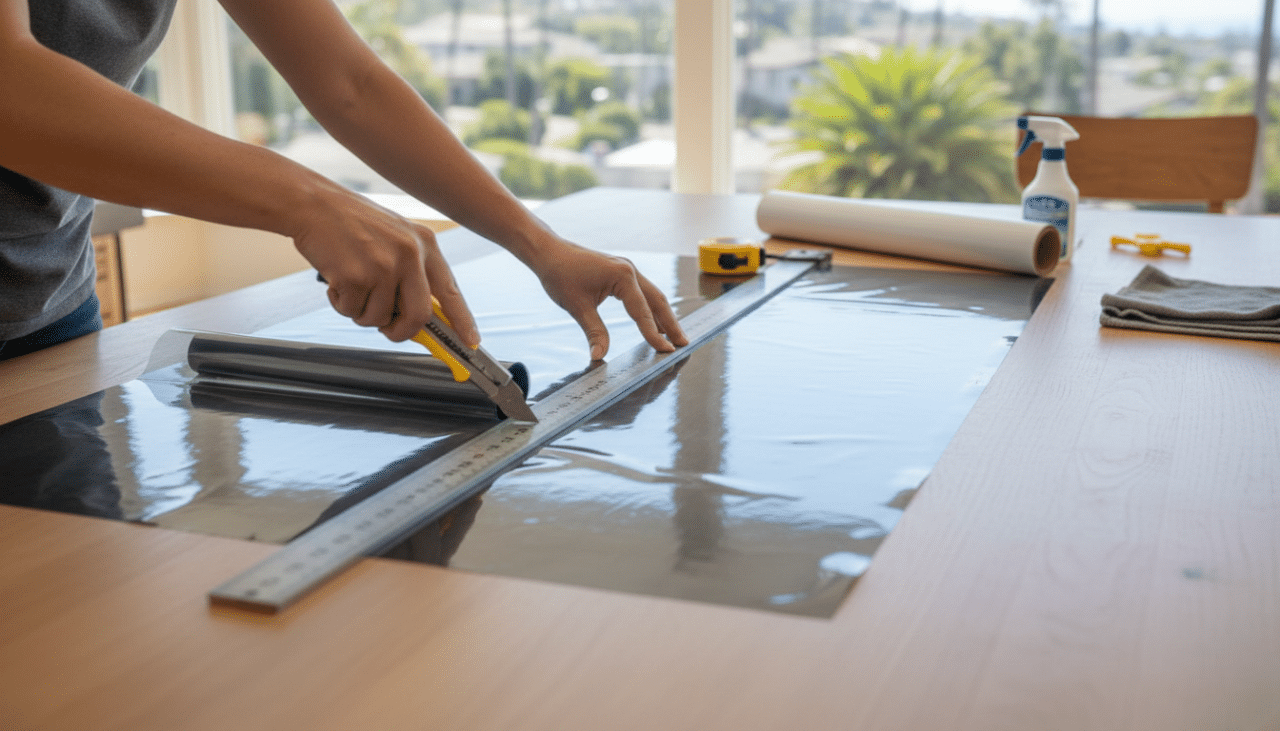
You will need window film cut slightly larger than your glass, a spray bottle filled with water and a few drops of mild soap, a squeegee with a soft edge, a sharp utility knife, a razor scraper, microfiber cloths, and a measuring tape.
Clean the glass carefully using the scraper and soapy solution. Remove all dirt, dust, and residue from the entire surface, especially near the edges where debris tends to collect. Even small particles can create noticeable bubbles once the film is applied. Wipe the window dry with a lint-free cloth before moving forward.
Measure each window precisely and cut the film about an inch larger on all sides. Leaving extra material ensures you can trim for a precise fit after installation.
Step-by-Step Installation Process
Choose a shaded area or work during cooler hours to avoid direct sunlight heating the glass. Warm glass can cause the film to dry too quickly, making adjustments difficult.
Start by spraying the entire window generously with your soapy water solution. The surface should be thoroughly wet. This moisture allows you to reposition the film easily. Peel the backing from the film and lightly spray the adhesive side as well.
Carefully place the film against the wet glass, starting at the top and gently lowering it into place. Because of the moisture, you can slide it slightly to align it correctly. Once positioned, begin using the squeegee from the center outward in firm, smooth strokes. Push water and air toward the edges, working slowly and methodically.
Take your time with this step. Even pressure helps prevent creases and air pockets. After most of the water is removed, trim the excess film along the edges with a sharp utility knife, using the window frame as a guide for straight lines. Finish with one more squeegee pass to ensure all remaining moisture is pushed out. Wipe down the edges with a microfiber cloth.
Curing time varies depending on humidity and temperature, but in San Diego’s generally mild climate, most films clear within several days to a couple of weeks. Slight haziness during this period is normal.
Common Mistakes to Avoid

Many DIY installations fail due to small oversights rather than major errors. Installing in direct sunlight, rushing through cleaning, or cutting the film too small can affect the final appearance. Always keep the glass surface extremely clean and allow yourself enough time to work without pressure.
Avoid overstretching the film when positioning it. Pulling too tightly can distort its shape. Also, follow manufacturer instructions closely, particularly if your windows are insulated or treated with special coatings.
If you are working with large or high windows, having a second person assist can make the process easier and safer.
Is DIY Right for Your Home?
For standard windows in single-story homes, DIY installation is often manageable with patience and attention to detail. It can be a cost-effective way to improve comfort and efficiency while gaining a sense of accomplishment from completing the project yourself.
However, if you have oversized glass panels, multi-story access challenges, or want premium high-performance film with a warranty-backed finish, professional installation may be worth considering.
For many homeowners across Southern California, installing window film offers noticeable improvements in indoor comfort. Rooms feel cooler during hot afternoons, glare is reduced, and furnishings are better protected from long-term sun damage. With proper preparation and careful technique, you can achieve clean, professional-looking results that enhance both the function and appearance of your home.