Introduction: Why Tint Your Home Windows?
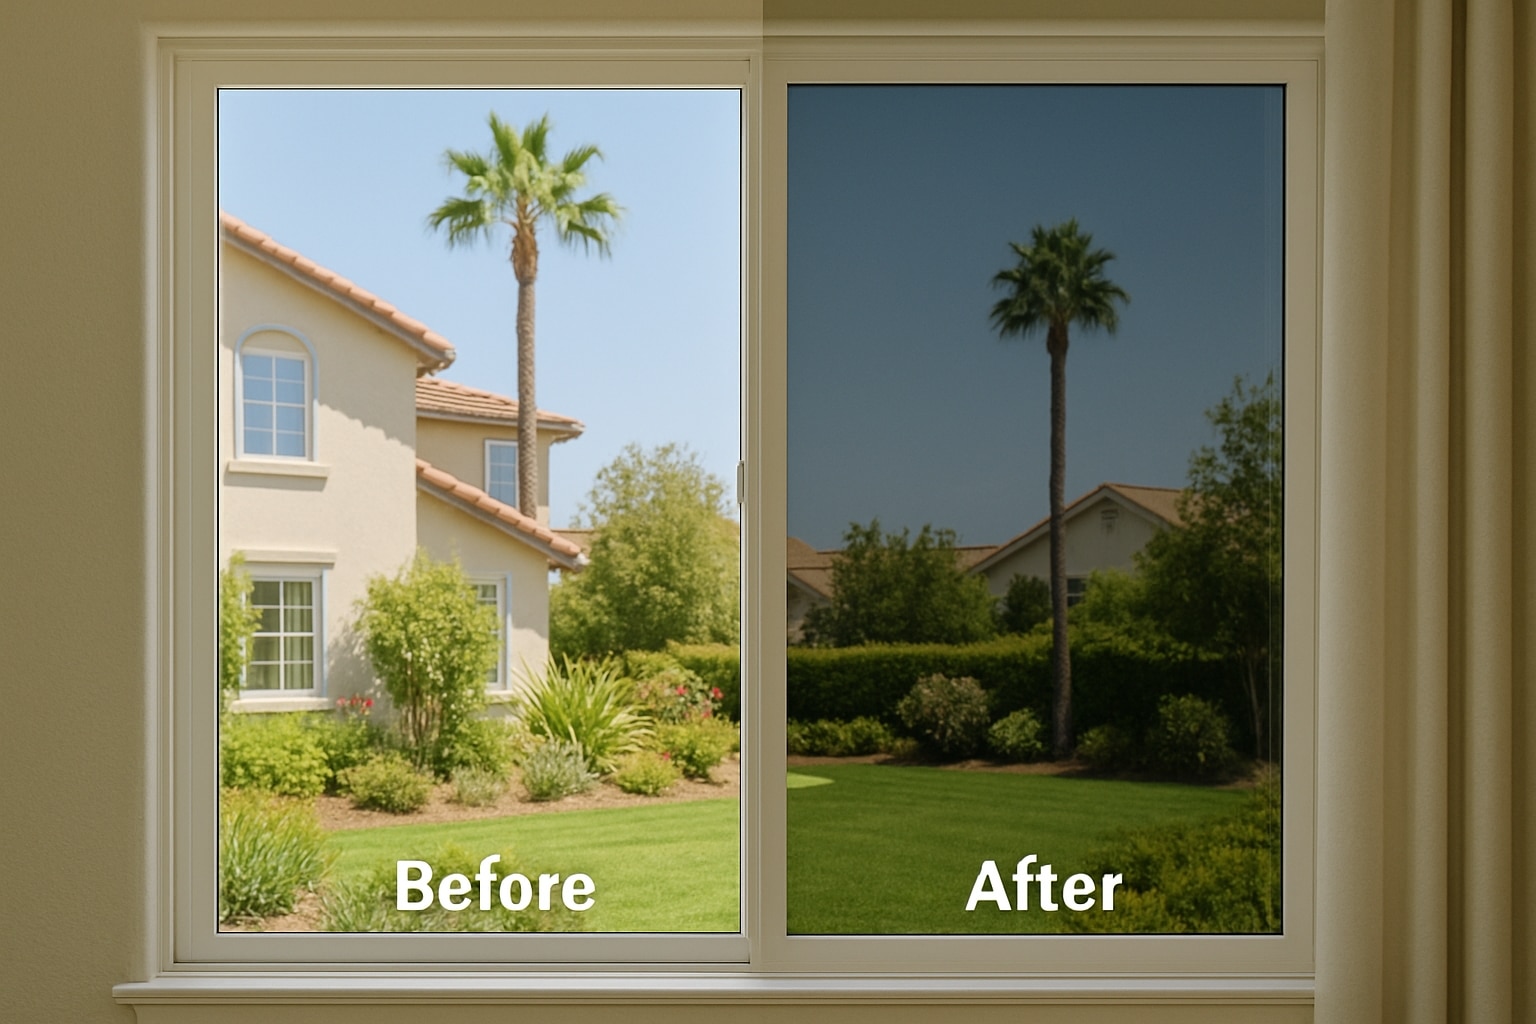
If you live in San Diego or anywhere across Southern California, you know how strong the sun can be. Installing window tint film for home windows is an affordable way to block heat, reduce glare, and protect your interiors from UV damage. Beyond comfort, tinting also saves money on cooling costs—a big plus in a warm climate. While professional installation guarantees perfect results, many homeowners are curious about doing it themselves. This guide walks you step by step through the DIY process, the tools you’ll need, and what to watch out for.

Understanding Window Tint Film Options
Before you buy, it’s important to know that not all window tint films are the same. Here are the most common types available for residential use:
- Dyed Film: Least expensive, good for glare reduction, but less effective for heat rejection.
- Metalized Film: Adds strength to glass and reflects heat, but may interfere with signals (Wi-Fi, phones).
- Carbon Film: Stylish matte look, excellent UV protection, long-lasting.
- Ceramic Film: Premium option; superior heat rejection without signal interference, often lasting 20+ years.
For most San Diego homeowners, ceramic film is the best choice thanks to its durability and energy efficiency in hot, sunny conditions.
Tools and Materials You’ll Need
A smooth installation starts with the right tools. Here’s your DIY checklist:
- Window tint film (pre-cut or roll)
- Spray bottle with soapy water solution
- Squeegee or hard card
- Utility knife with sharp blades
- Measuring tape and marker
- Microfiber cloths
- Heat gun (optional, helps on curved or stubborn surfaces)
Tip: Buy a little extra film in case of mistakes, especially if this is your first time tinting.
Preparing Your Windows for Tinting
The prep work is just as important as the installation itself. Follow these steps:
- Thoroughly clean the glass – Use a glass cleaner and microfiber cloth to remove dust, dirt, and grease. Any small particles will create bubbles under the film.
- Remove old tint (if present) – Gently peel and scrape, using soapy water to loosen adhesive.
- Measure carefully – Always measure twice and cut once, leaving an extra inch on all sides for adjustments.
- Protect the area – Place towels at the base of the window to catch excess water.
Step-by-Step Installation Process
Now the fun part—applying the tint film:
- Cut the film: Lay it flat on a clean surface and trim it slightly larger than your window.
- Spray the window: Apply your soapy water generously to make positioning easier.
- Peel the backing: Carefully remove the protective liner, avoiding dust.
- Apply the film: Stick the adhesive side to the wet glass, starting from the top.
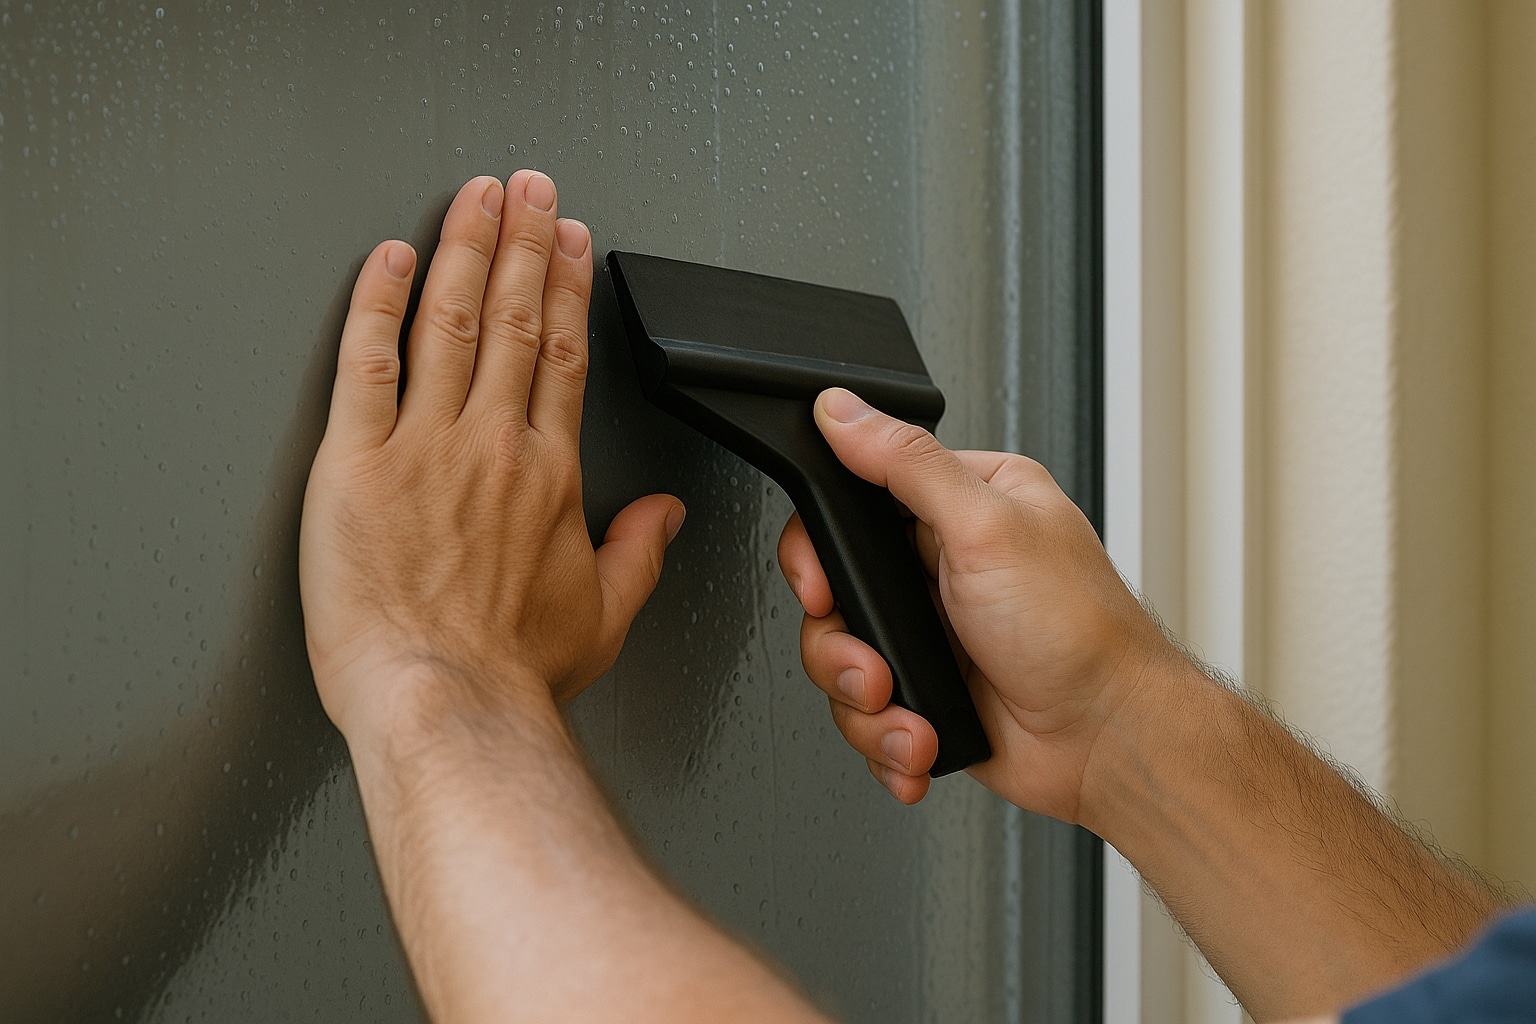
- Smooth it out: Use the squeegee from the center outward to push bubbles and water to the edges.
- Trim the edges: Cut off excess film along the window frame with a sharp blade.
- Final touches: Re-squeegee any remaining water pockets. Let the film dry for 3–7 days.
Common Mistakes and How to Avoid Them
Even beginners can achieve great results, but here are some pitfalls to watch for:
- Dust and lint: Even tiny specks cause bubbles. Clean in a dust-free environment.
- Rushing: Take your time positioning and smoothing the film.
- Cutting too small: Always leave extra material—you can trim excess, but not add more.
- Skipping prep: Dirty glass is the #1 cause of peeling and bubbling.
When to Call a Professional Installer
DIY tinting is cost-effective, but not always foolproof. Consider hiring a pro if:
- You have large, high, or hard-to-reach windows.
- You want a long warranty (many pros offer lifetime coverage).
- You’re installing premium ceramic or decorative films.
In San Diego and Southern California, professional installers also ensure compliance with building codes and provide flawless, long-lasting results. If perfection and time savings matter most, going pro is worth the investment.
Conclusion
Installing window tint film for home windows is a rewarding project for DIY enthusiasts. With the right tools, patience, and preparation, you can enjoy lower energy bills, better comfort, and protection from the California sun. Whether you go the DIY route or hire a professional, the benefits of tinted windows are undeniable.