

Prep Your Space and Gather the Right Tools
A smooth window-tinting experience begins with setting up your workspace. Choose a clear, dry day with steady light—San Diego’s coastal climate makes it easy to find ideal weather, but avoid high humidity or Santa Ana windy conditions, which can affect film adhesion. Lay out all tools in advance: window film, squeegee, utility knife, spray bottle with soapy water, microfiber cloths, and a straight-edge ruler.
Cleaning and dust control are especially important. Coastal breezes can carry fine sand and pollen into open windows, so consider closing windows, using drop cloths, and working methodically to keep surfaces dust-free. Taking time to prepare ensures the film will lay smoothly and remain durable for years in Southern California’s sun-exposed environment.
Understand the Types of Window Tint Film
Homeowners have several options, each offering different benefits. Ceramic films are popular in coastal regions due to their superior heat rejection and clarity, ideal for warmer climates like San Diego and Orange County. Dyed films are budget-friendly but can fade faster under strong UV exposure—something to keep in mind when living near the beach where sunlight is intense. Metalized films improve heat rejection but may slightly impact radio signals.
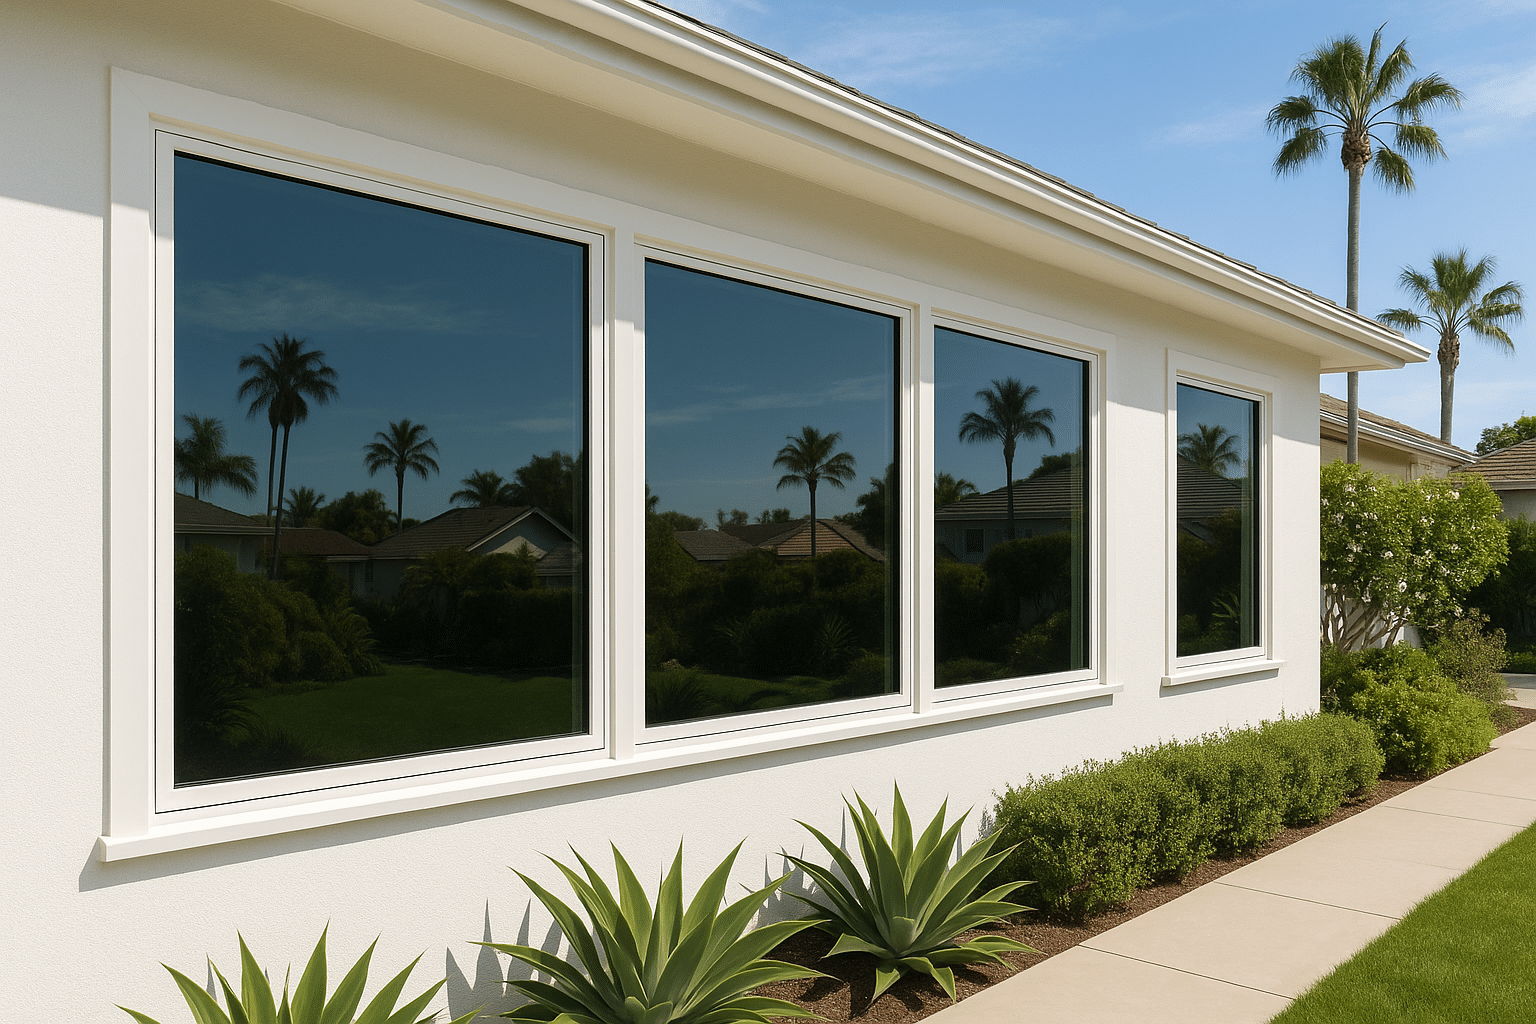
Consider local factors such as the direction your windows face. South- and west-facing windows in Southern California receive strong afternoon sun, making UV-blocking and heat-reduction films particularly beneficial. Evaluate performance specs like UV protection, solar heat gain coefficient, and glare reduction to find a film that fits your home’s comfort and energy-efficiency goals.
Clean Glass Thoroughly for a Professional Result
Even microscopic dust or smudges can cause bubbles, wrinkles, or peeling over time. Use a streak-free glass cleaner or a vinegar mix and wipe with a microfiber cloth. Avoid paper towels—they can shed fibers. For the cleanest finish, scrape the glass gently with a razor blade while it’s wet, especially in older homes near inland valleys where dust buildup is common. Clean window frames and tracks too; dirt hiding in corners can slip beneath the film during installation.
Rushing through cleaning is the most common DIY mistake. A perfectly clean window surface gives your tint the best chance to bond smoothly and look professionally installed.
Measure, Cut, and Shape Film Carefully
Measure each window precisely and cut your film slightly larger than needed. Lay the film flat on a clean surface and use a straight edge for straight, smooth edges. San Diego residents with large coastal windows or modern floor-to-ceiling glass panes should take extra time—larger glass surfaces magnify cutting imperfections and alignment challenges.
Leave a small margin of excess film at installation; you’ll trim the final edges once applied. Precision cutting ensures the film fits seamlessly and avoids lifting or peeling along corners.
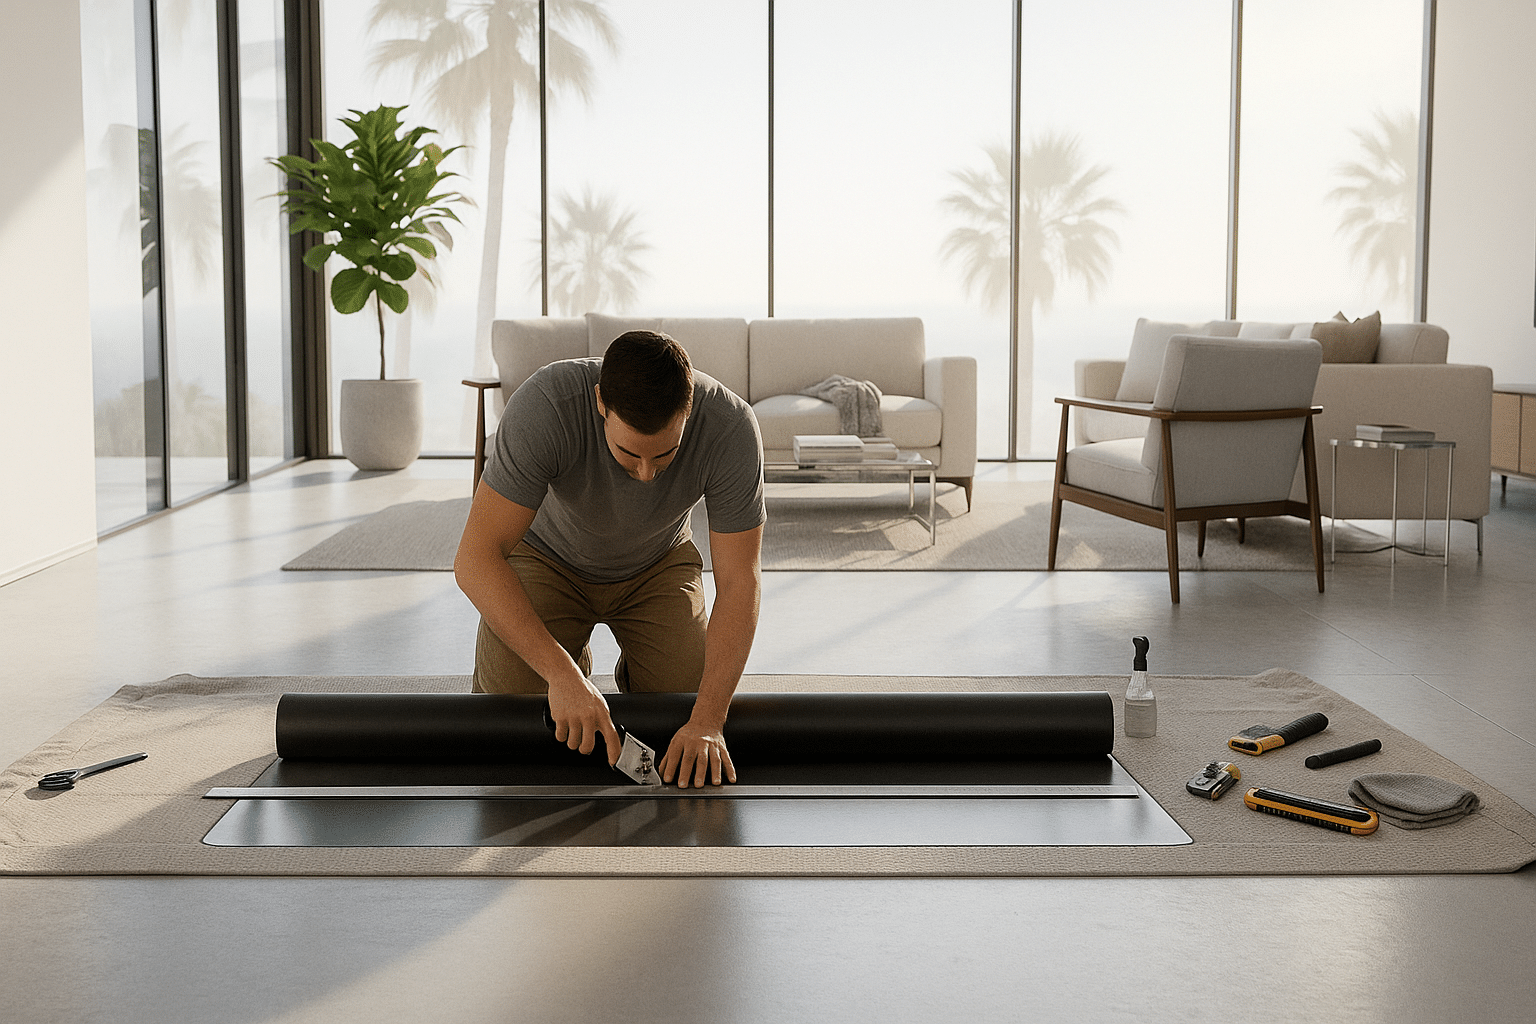
Apply Film with Smooth, Steady Technique
Spray the glass generously with soapy solution before applying the adhesive side of the film. This step is critical, especially in dryer Southern California weather where water evaporates quickly. Use a squeegee from the center out, working slowly to remove trapped air and moisture. Keep your movements smooth and steady—rushing can cause creases or visible streaks once the film dries.
Avoid working under direct midday sunlight; warm glass can speed drying and make bubble removal more difficult. Morning hours or shaded sections of the home provide ideal conditions.
Finish Edges and Ensure Proper Curing
After the tint is in place, use a sharp utility knife to trim the edges so everything looks clean and professional. Go over the borders with your squeegee to lock the adhesive in place. Good edge work is what keeps the tint from lifting later, especially with our coastal humidity or those occasional Santa Ana winds.
Curing time can take anywhere from a few days to a few weeks, depending on sunlight and temperature. South-facing windows in warmer inland areas like Poway or Escondido usually dry faster, while coastal spots such as La Jolla or Encinitas take a bit longer. During this period, avoid cleaning or touching the glass. Once the film is fully cured, you’ll enjoy cooler rooms, reduced glare, and year-round privacy.